More Photos….

I’m enjoying posting photos with a bit of blurb. I realise this is quite different to everything Mum Friendly has been, maybe this is where it’s moving forwards to? We’ll see. Anyway, here’s some more pictures from Australia last July and August, 2022.

Hungry Jack's just outside Perth, Western Australia. Drive Thru sign lit up against the night sky.

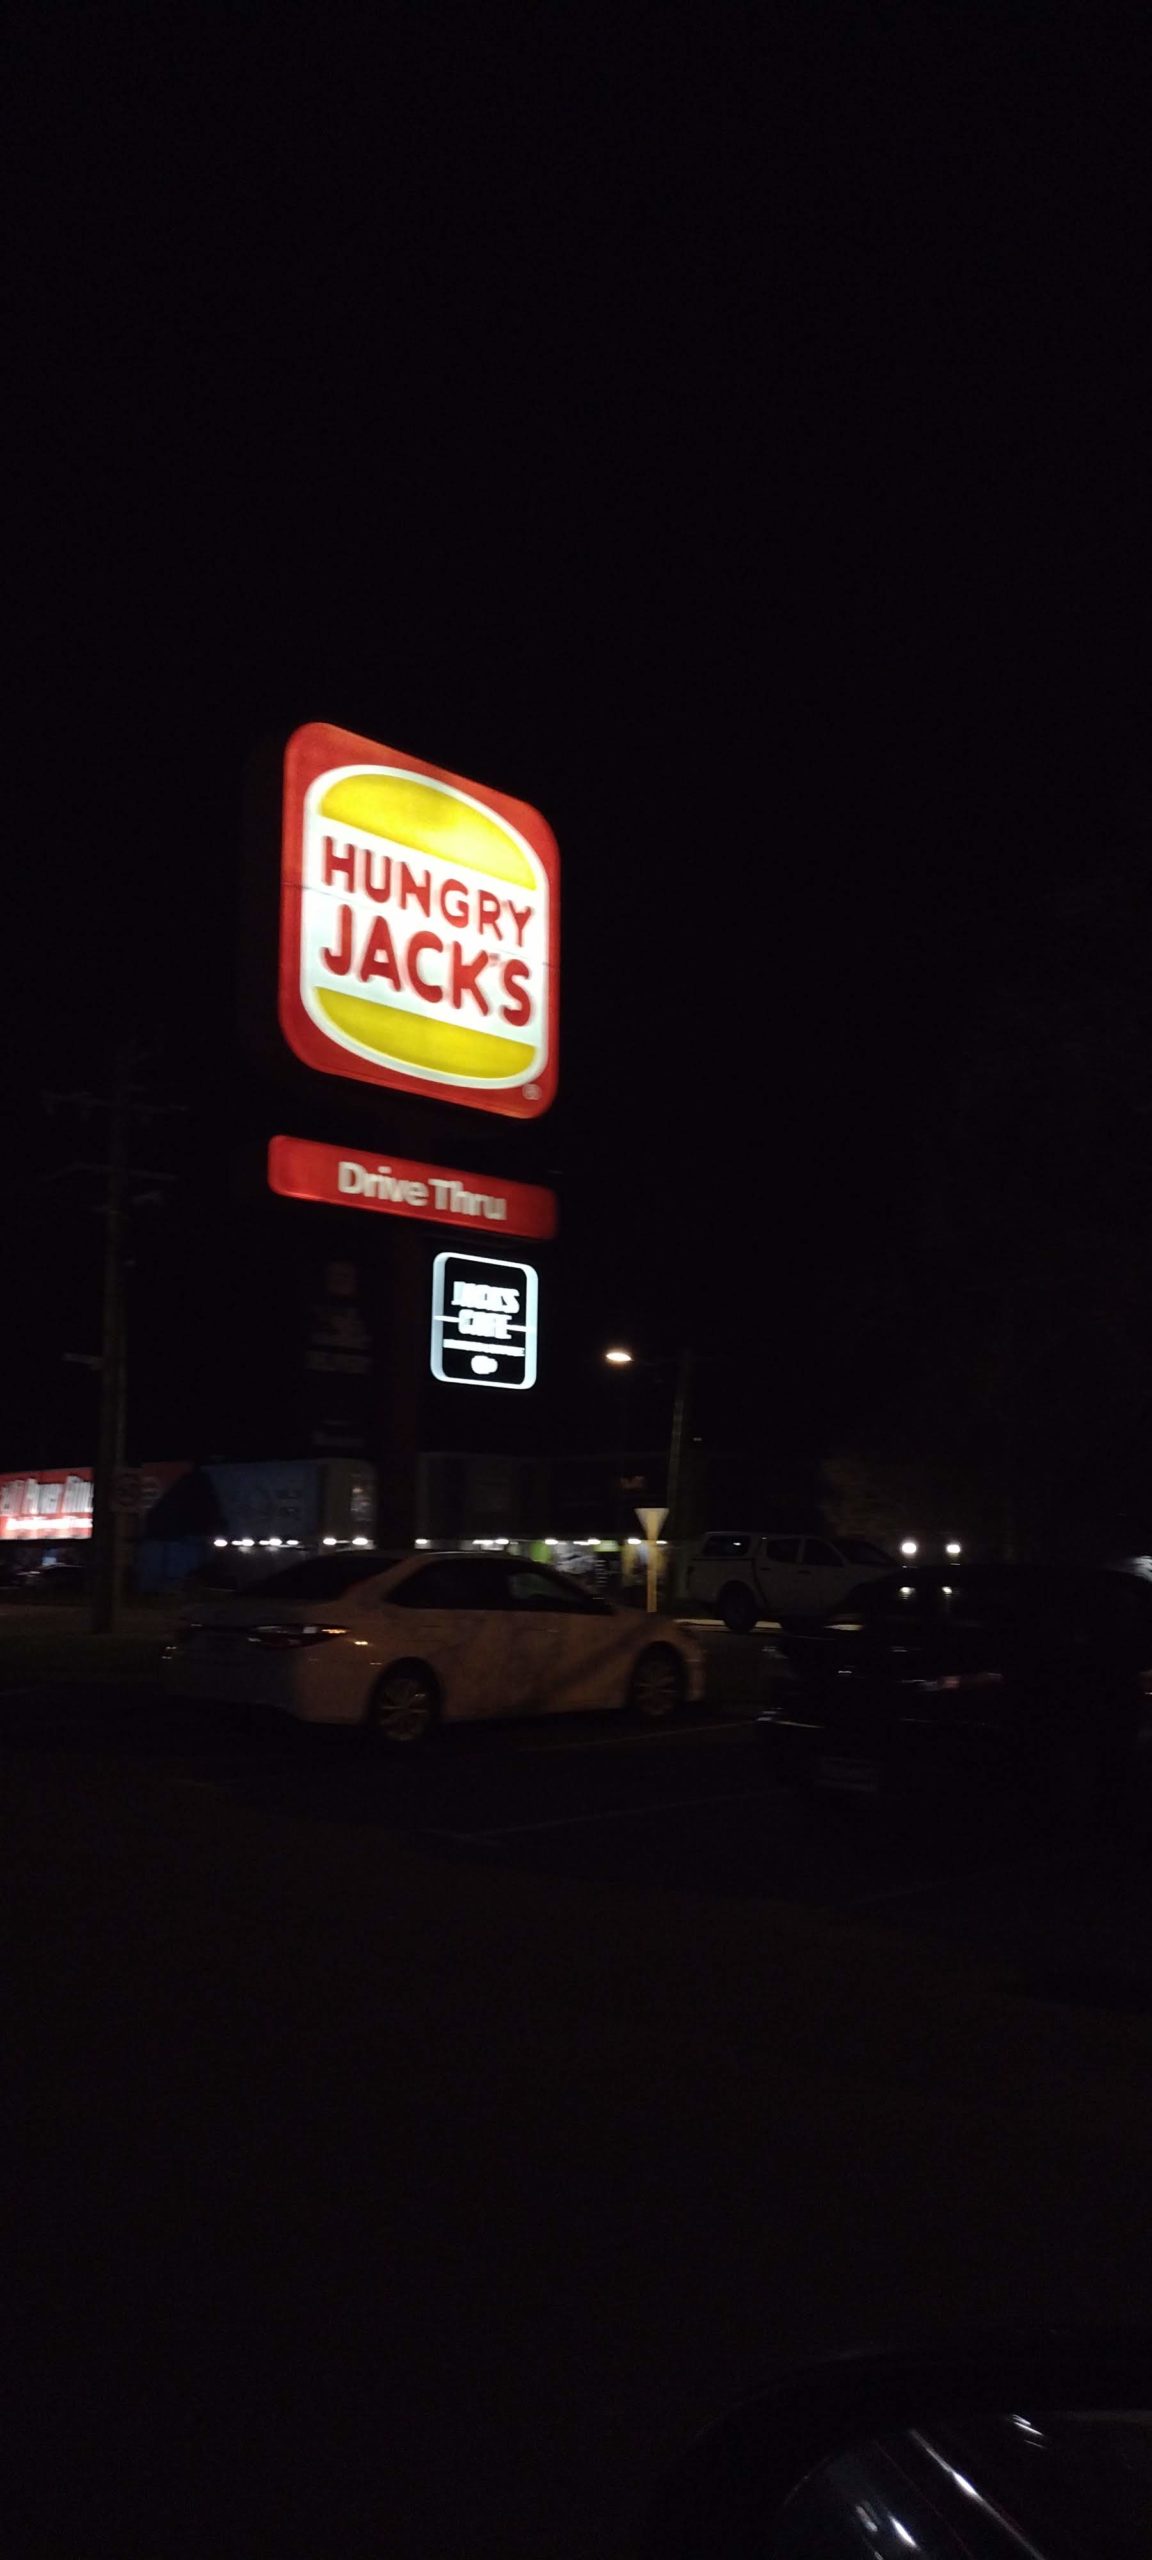
Hungry Jack’s. Ahhh our favourite drive thru/takeaway in Australia (Although Shaun would probably add Chicken Shack to that as well) – we arrived in Perth and stopped here to grab food and milkshakes because we needed some sugary bad food to make us feel normal again after a day travelling from the UK eating airline food. The picture is blurry, annoyingly. But it’s clear enough to see, and here’s why Hungry Jack’s isn’t called Burger King. They serve the same food.

Master's Spearmint Milk. Reduced fat milk coloured green which tastes of spearmint. Delicious. Game changer.

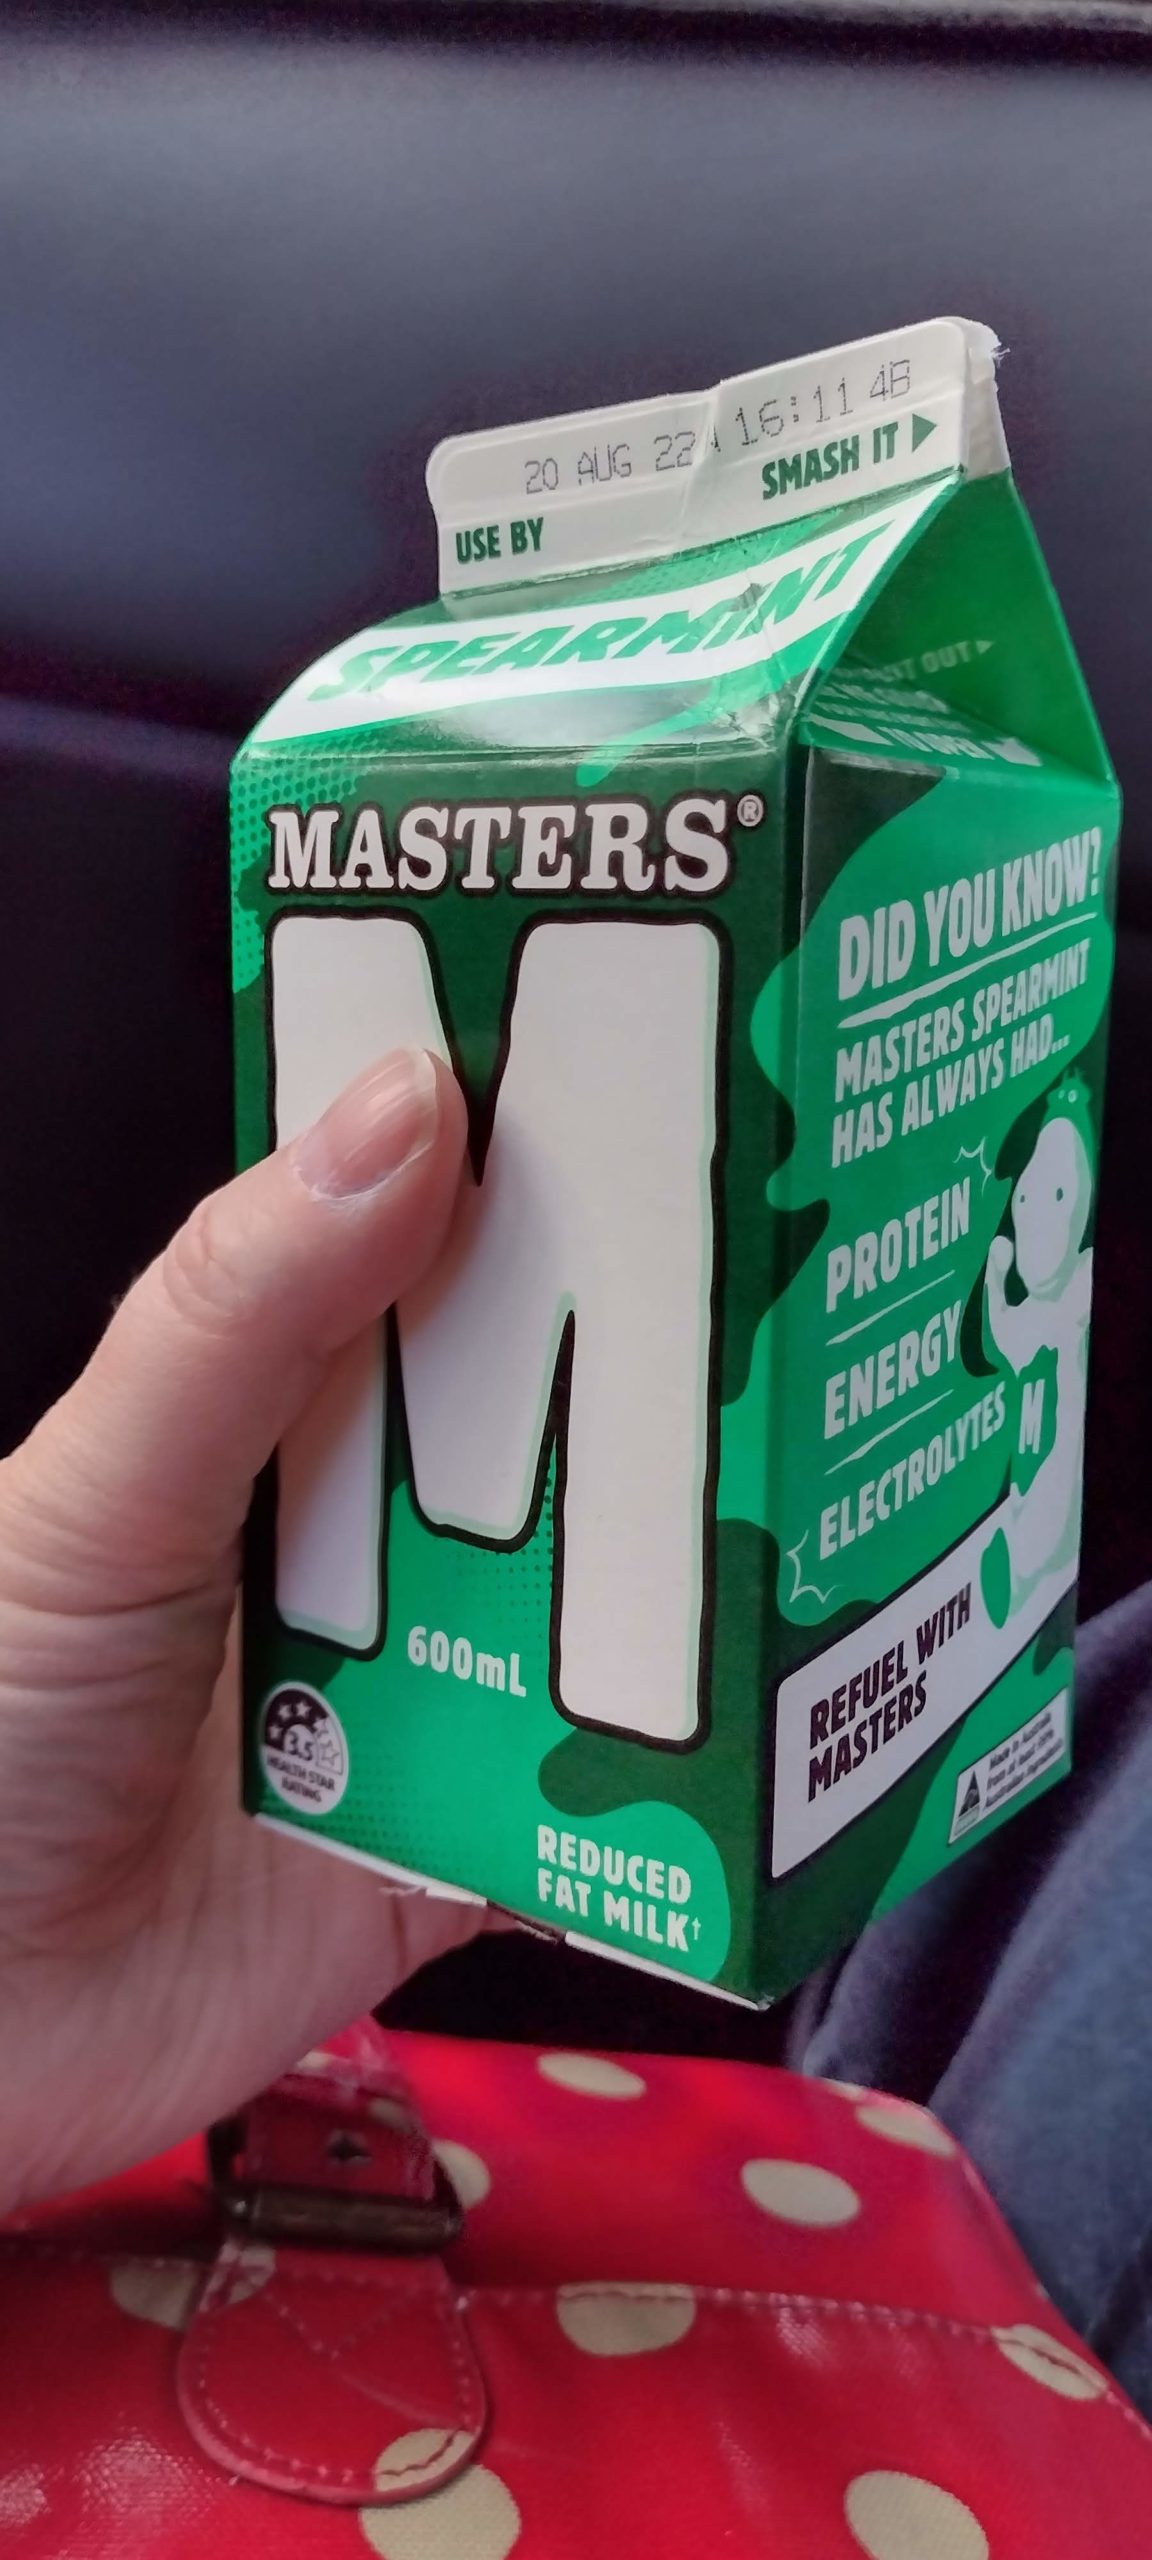
“Uuuuurrghgg” say most people when greeted with this sight. But oh, how wrong they are. I get it though, I mean, the idea of a minty green milk (“It probably tastes like mouthwash”) which you drink and exists for FUN (rather than anything else significant) must be confusing. I’ll dig out a photo of the Western Australia milk aisle that I took from a few years ago – they have a very impressive selection and all the flavours. For now, let’s focus on Spearmint Milk. Surely one of the greatest inventions of all time? It’s tasty, minty, green and most significantly, different. I like to be different.

Teenager holding onto a shelter at Mundaring Weir, Western Australia. Her shadow is on the photo as well as some local greenery.

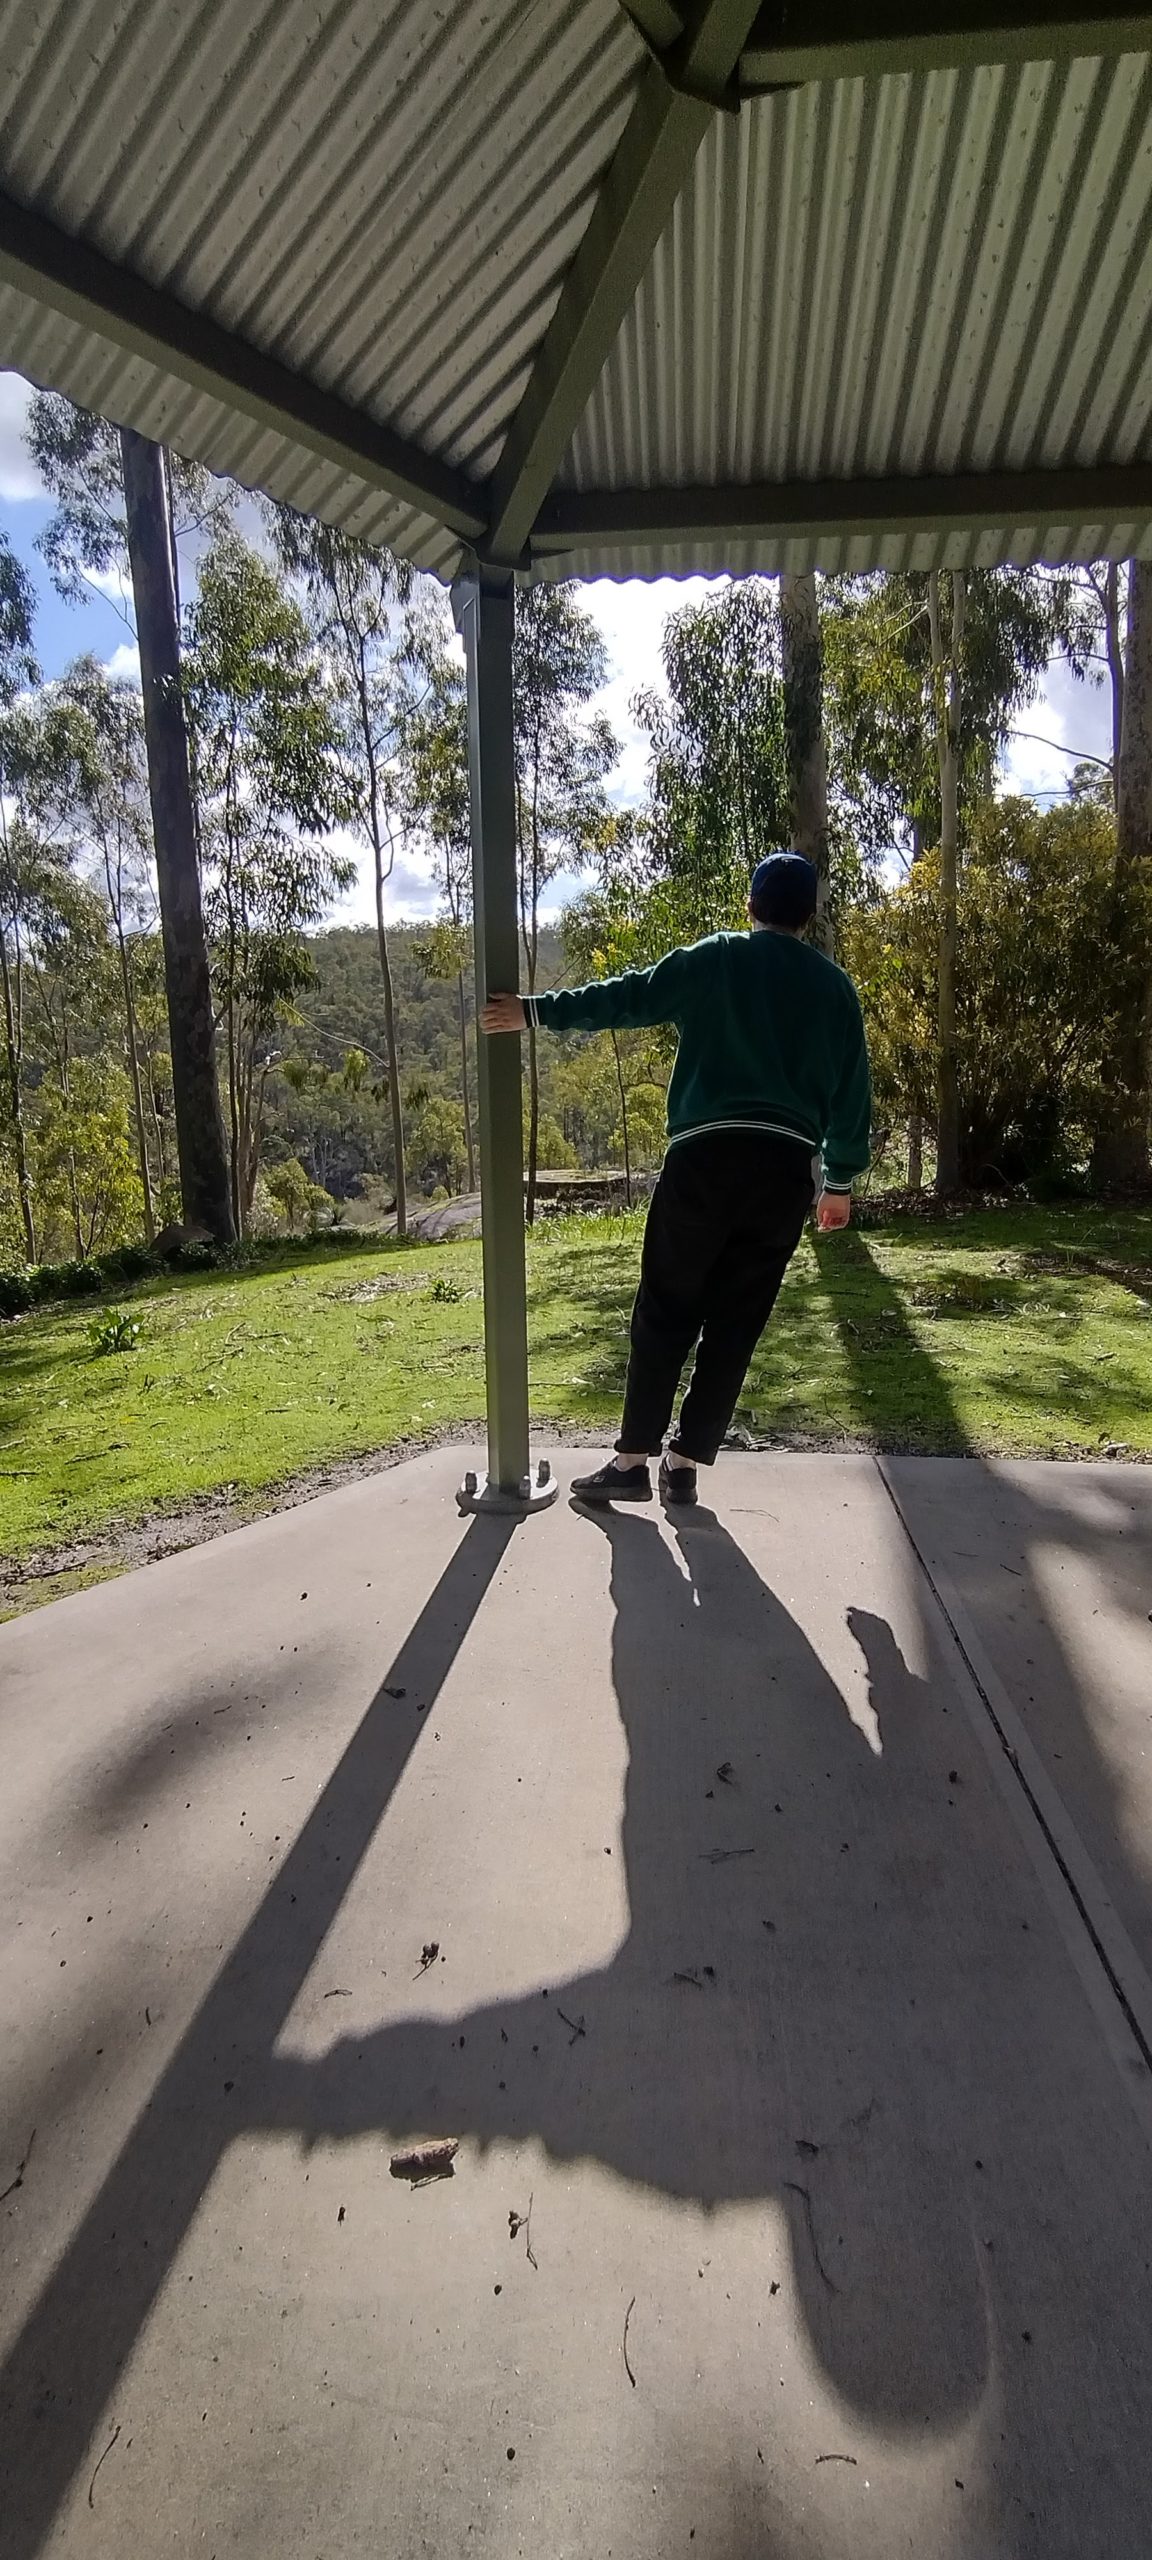
Finally – no food or drink on this one. Just H, her shadow and a shelter we passed by at Mundaring Weir. I was tired so H and I stuck together and did the shortest trail. I spotted this shelter and insisted she struck a striking pose which would create an interesting photo and this was the result. So it’s kind of staged but sort of real too, if that makes sense?

Mundaring Weir is interesting – a huge reservoir which transports water around the area (there are loads of gold pipes leading from the reservoir). You can walk across the dam walkway (H and her nana did, it was too much for me) and there are numerous trails around the area. When the water levels are low you can see a train track as well which I need to do some research on. I’m already having Ladybower Reservoir style “entire village appears when the water levels got really low” sort of feelings.

But that’s just my odd little head. The area around Mundaring Weir always has kangaroos (always!) and other interesting animals – and is always good for a wander. The Mundaring Weir Hotel is just up the road and has a decent selection of beers and food to try – we’ve often enjoyed eating then sitting in the arena-type area afterwards. We also got trapped there one year when there was a rally going on and we couldn’t cross the road to leave – which was fine, we just had more sunshine, beer and food instead.

I’m building up to a few reviews which will hopefully come very soon…. my head feels like it’s ready to have a good rant!

Loving my Salad Zinger

I recently bought a Salad Zinger on Amazon. I’d first come across them late last year when visiting the Science Museum and wished I’d bought one there and then. Now Summer is here and we’re eating lots of salads thanks to our Sarah Raven salad, so I splashed out!

Salad Zinger mint and lemon dressing

The Salad Zinger is very easy and straightforward to use, with several salad dressing suggestions included. I decided to go for the Lemon and Mint dressing as we grow our own mint, and I do like it in a salad.

You need (1) –

One Salad Zinger
Half a cup of fresh mint
One lemon
Salt
A cup of Olive Oil

You carefully take apart the salad zinger, remove the rind from the lemon and chop into cubes. Put into the grind cup and watch out for the blades as they’re sharp. (2)

Now, Shaun and I disagree on this next bit – I like my mint leaves solid, he’d prefer them chopped. I placed them onto the top of the grind cup, once the lid was safely on. (3)

To mix up the lemon simply screw the top of the Salad Zinger to the grind cup. The motion means the blades turn, mixing up the lemon (in this case). (4)

Finally, remove the top of the Salad Zinger and add the olive oil and salt. (5)

Give it a really good shake – don’t forget to put the stopper on the bottle though!

Leave to infuse for around half an hour – more than enough time to pick some salad leaves and get them washed and spinned. (6)

The verdict? It was good, so much nicer than shop-bought and didn’t take long to make. We’re going to get adventurous, as I can see a Caesar Salad recipe – hopefully we can make a vegetarian version. You’re not limited to salad dressings – dipping sauces, marinades or flavoured oils are easy to make too.

You can buy a Salad Zinger for around £25. They’re dishwasher friendly (top shelf) though Zing Anything recommend handwashing to maintain longevity of the product.

The Salad Zinger had a good seal on it, keeping it leak-proof as well. So far we’re impressed. So much so I’m going to be buying an Aqua Zinger as they look pretty special too!

this post contains an affiliate link

Keeping It Local – Tillee Vanillee

If you live in the Carshalton area, the name Tillee Vanillee may already be familiar to you.

Tillee Vanillee

Tillee Vanillee are a local business who make Natural Handmade Bespoke Confections – and there’s a lot of choice. If you live in Carshalton you may have come across Tillee Vanillee in our new grocers, Rhubarb and Bramley on the high street, or at the wonderful Calladoodles store.

Tillee Vanillee Hearts MarshmallowsIt just so happens that Rachael who owns the business is a mum at the same school as H, so when the chance to try one of her whisky and ginger marshmallows came about I jumped at it!

Oh my, it was divine too – soft in the middle and just right on the outside – both flavours came through well and I know next time I head into the village I’ll be picking some up.

tillee vanillee mothers day

Mothers Day hearts, soon to be dipped in chocolate – mmm!

This is where those of you who don’t live in Carshalton come in – Tillee Vanillee also do direct Mail Order – so you can order what you need. There are currently some heart-shaped marshmallows dipped in chocolate for Mother’s Day (on sale in Rhubarb and Bramley) – with loads more choice on the official site. Need Wedding favours? They’re covered. Gourmet Marshmallows? But of course. Hand piped gourmet mallows in a variety of flavours? Oh YES! What makes it even better is they’re not expensive – they’re a good price and taste delicious. I love that Rachael says “please get in touch if you like what we do and how I do it! – I’m more than happy to talk you through custom or personalised options if you would like something a little different to the products featured on this site”Tillee Vanillee Hearts boxTillee Vanillee also has an Etsy store – check out the range on offer there. Mmm!

Tillee Vanillee started making marshmallows, then moved onto macarons, and are now working on other treats from around the world – you can follow them on Facebook and Twitter too. I highly recommend that you do!

Tillee Vanillee

Domino’s New Chocolate Twisted Dough Balls

Last weekend we had a chance to try out the new Domino’s Chocolate Twisted Dough Balls – I have to say, I was intrigued.

We’d decided on a movie night, and in most cases we would make pizza, but as a treat we ordered in a Domino’s meal deal – alongside a portion of their new Chocolate Twisted Dough Balls.

dominos chocolate twisted dough balls

Now, to me, dough balls are the kind of thing you get in Pizza Express – round, dough-y and plain. Add chocolate and the fact there’s a twist and I’m thinking of something like a roulade – made from dough.

What we actually received was this :

dominos chocolate twisted dough balls

When you look at the picture on the Domino’s website, my expectations were pretty accurate.

Ours resembled a chocolate chip cookie which was quite greasy. I wasn’t that impressed by it – but had to try it out. In fact, it tasted like a cookie too, I didn’t feel like there was much dough in there – it was almost like a deep fried cookie. Very weird. So I’m putting it down to it being so new that the Sutton branch didn’t know what I’d ordered or had mis-read it? There were definitely no twists involved in there either, as you can see – so it’s not like it could have collapsed in transit.

Ah, that’ll be because we were sent the wrong thing. Cookies.

dominos chocolate twisted dough balls

Anyway, regardless of this, they were edible enough, though a little too greasy for my liking.

I would really quite like to try the Chocolate Twisted Dough Balls sometime – let’s hope my local branch can get it right next time. Sigh!

Otherwise the pizzas we had were fine – tasted good and we had a lovely movie night – watching Tangled in case you wondered which of course we enjoyed.

We were reimbursed for our Domino’s Order, all opinions are my own and honest.

Kelly’s Of Cornwall Clotted Cream and Raspberry Ice Cream

Kelly's Clotted Cream and Raspberry Real Cornish Ice Cream

Kelly’s Clotted Cream and Raspberry Real Cornish Ice Cream is the latest addition to the Kelly’s Of Cornwall Range. We were offered the chance to try it and of course jumped at it.

Available in Sainsburys and Waitrose and all good supermarkets, we had it with a delicious Raspberry and Coconut cake from the Cook Food stores which complemented it well.

Kelly's Clotted Cream and Raspberry Real Cornish Ice Cream

As before, when we reviewed the Kelly’s Of Cornwall ice creams, it’s about portion size – I’m pleased I can have a decent scoop and the calorie content isn’t too high. The ice cream has a lovely creamy flavour and the raspberry is delicious – while still being nice and smooth.

We’ve also tried the Kelly’s Clotted Cream and Raspberry Ice Cream with a bramble and apple pie last weekend that we made after doing a spot of foraging which works as well.
Kelly’s has been producing Cornish ice cream for over 100 years in Bodmin, Cornwall using only the finest dairy ingredients. They’re also the only genuine Cornish ice cream which is made in Cornwall and available nationwide.
Kelly’s of Cornwall Clotted Cream and Raspberry Ice Cream is available from selected supermarket stores nationwide, RRP £3.99 for a 1-litre tub.
Kelly’s Clotted Cream & Raspberry Ice Cream joins these other flavours – Clotted Cream Ice Cream, Clotted Cream & Honeycomb Ice Cream, Clotted Cream & Strawberry Ice Cream, Clotted Cream & Blackcurrant Ice Cream, Clotted Cream & Golden Syrup Ice Cream, Clotted Cream & Chocolate Ice Cream , Cornish Dairy Vanilla Ice Cream.

For more information on Kelly’s of Cornwall, visit: www.kellysofcornwall.co.uk

Also, if you’re pretty good about reusing old ice cream tubs, the Kelly’s tubs are just the right size for felt tip pens and crayons… there’s nothing like a bit of upcycling!

We were sent a voucher to try out the ice cream, all opinions are our own.

Munchkin Bento

We’ve been sent the new Munchkin Bento Box to try – and with school imminent it has come at a good time!

Munchkin Bento Box

Munchkin Bento Boxes are perfect as a starter for your child to make lunchtimes a bit more interesting. It fits into a backpack perfectly, we haven’t tried with a Book Bag yet. I really like the separate compartments – they’re nice and airtight too, we (accidentally) kept some chopped apple in one which didn’t discolour for 48 hours! I tried the apple and it still tasted fine as well.

H will have school dinners to start with, though I haven’t ruled out lunches so we’ll be well prepared, so for now we’re using the Munchkin Bento box for daytrips. Today we headed to Reigate Fort and for a short walk along the South Downs Way, somewhere there’s plenty of seats to sit down and have a snack or two when you need them.

I packed some cucumber and carrot in one section, with blueberries and grapes in the other. In the main section there were a pack of Pom Bear shapes, mainly as I decided if we needed something a little more substantial we’d eat out – this was just for being out and about. Everything fitted fine anyway!

You have one main section which would hold small sandwiches fine, possibly a drink (although at school I’m guessing they’d have water rather than take in their own?), with the small sections fine for fruit and vegetables. The main section has a cover which will stop any food getting caught in the knife and fork in the lid, with the two small sections having airtight lids – they’re firm enough to put on and easy enough for a 4-year-old to remove. My next step is to try some food which might leak to see how we get on – I’ll report back!

The lid has a spoon and fork which clip in safely. There’s more information over here at the Munchkin site. The novelty of having food in sections is something H really isn’t getting tired of, every trip is an adventure wondering what her next snacks could be. It reminds me a bit of the Tupperware containers we had in the eighties, but airtight!

Munchkin Bento Box

All parts of the Munchkin Bento Box are dishwasher-safe, but top shelf only. We’ve washed ours a few times now and have had no problems at all.

Underneath the box is a space to put your child’s name – I’ll be adding H’s with the Stamptastic stamp as that will hold firm, though it would be perfect if you could do this on the fork and spoon too!

You can follow Munchkin on Facebook and Twitter

We were sent the Munchkin Bento Box for review, all opinions are our own.

Birthday Cookies

H had her fourth birthday party yesterday, and one thing I had in mind to make was birthday cookies.

Birthday cookies are easy to make, you can bake tons of them and share them with the parents (parents are often overlooked when it comes to party food) and depending on allergies could be adapted for children who have nut allergies pretty easily by avoiding ready made icing.

Birthday Cookies - Finished

Here’s the recipe.

Birthday Cookies.

1 cup icing sugar

2 cups plain flour

300g unsalted butter

For the icing:

Two Sainsburys roll-it-out coloured icing blocks. Yes, I cheated.

For the decoration :

Sainsburys icing pens (various colours) and some blue sugar decoration crystals (they’re nice and sparkly like monster snot).

Birthday Cookies Ingredients

To make the cookies :

Soften the butter, add the icing sugar and stick in the food processor until blended. Add the flour. You’ll have your dough. Leave in the fridge for 20 minutes.

After that, on a floured board roll out the dough and using a cookie cutter cut your shapes. We used a number 4 from my 101 Cookie Cutters set (they didn’t have any monsters) and made approximately 60 cookies.

Bake in the oven at around 180 degrees for 10-15 minutes (we have a fan-assisted oven) – keep checking them and turn your tray around. I found the best cookies were made on the bottom shelf as they looked a nice golden shade.

birthday Cookies baked

Once out of the oven leave to cool on a wire rack for 10-15 minutes (just enough time for the next batch to be added).

Once your batch are cooled, get your icing. I went for ready-made as it saved me time, I used icing sugar to dust the boards and rolled them out cutting 4 shapes again, and sticking them to the cookie with water.

Birthday Cookies Iced

Once they’d dried I used more water on top and added various decorations. As it was a monster themed party I figured it could be fairly messy so broke up some chocolate buttons and added them on top, as well as writing with the icing pens.

The best thing? Almost everyone ate them so it meant we didn’t bring much home at all. There were plenty for everyone too (18 children and a few more adults).

H loved them as they were proper birthday cookies with her age on as well, and I quite enjoyed making them as it kept me calm and stopped me flapping.

I think we all win there.

This post contains an affiliate link, and the recipe was put together using several recipes online for inspiration. I wanted to avoid too much sugar and also eggs.

Movie Night – What We Ate

Who’s in for Movie Night?

Movie Night is something we do from time to time, get H bathed and ready for bed, make some nice food to eat and settle down in front of the tv with a film she’s chosen.

Tonight we’re watching Mary Poppins, I managed to brainwash H quite well so I’m happy with that – it’s one of her favourite films. Our movie food is going to be simple and home made – two pizzas and a garlic bread, a salad, and some blueberry and pear ice cream. We have all the ingredients to make it so it’s going to be a pre-payday cheap treat – good job really as the car insurance is due next week!

So you start off with your ingredients, the breadmaker and ice cream maker on hand. The dough for pizza (300g strong white flour, 1 tbsp olive oil, 1 tsp salt and 1/2 tsp yeast plus 170ml water) takes 45 minutes and the ice cream takes around 40 once you’ve made the mixture. I got everything ready nice and early so it would be ready for a 5.30pm start.

movie night Food Prep

I crushed the fresh garlic with my favourite contraption the Royal VKB garlic crusher. I bought it years ago and still use it a lot – the biggest plus point – you can wash your hands with it afterwards and it gets rid of the smell on your fingers. It crushes up the garlic really nice and chunky too.

crushing garlic with the Royal VKB garlic crush for movie night

You get the food prepped and it’s almost time with it looking like this (this is about the time we realise our greaseproof paper isn’t very good and we need a pizza stone):

Food made for movie night

Pop in the oven for 20 minutes or so, and then before you know it it’s time for movie night :

dinner is served for movie night

I think it’s all a bit Supercalifragilisticexpialidocious myself. Spit spot.

 (this post contains an affiliate link)

Banana and Egg Pancakes with Fruit Splodge

Recently a friend, Kelly, posted a recipe for Banana and Egg pancakes – so we had to give them a go as they look so easy.

Banana and egg pancakes are a really simple meal to make with just two ingredients. We added a fruit topping to it which in our usual style was a little over the top…

banana pancakes ingredients

What you need :

for the banana and egg pancakes:

a ripe banana
two eggs

small frying pan
oil for frying

for the fruit splodge:

however much frozen fruit you want (any fruit will do, but I like the cold of frozen fruit)
half a banana (chilled)
a splash of milk

banana pancakes

Get the banana and mash it up until there are very few lumps left – the riper the banana the better as otherwise they can be quite stiff.

banana pancakes

Add the two eggs. Beat the mixture until it’s a pancake-like mixture. A lot will depend on how well mashed the bananas are.

banana pancakes

I then got one of my measuring cups and scooped the mixture, putting it into the pre-warmed pan. Remember these are pancakes you’re working with so you don’t need a lot of mixture.

Each banana and egg pancake should take no more than 30 seconds to brown – turn them over and do both sides. They can burn easily so don’t forget they’re there. The mixture will make approximately 8 small pancakes or 5 bigger ones.

Once each banana and egg pancake is cooked, place on some kitchen roll to cool.

banana pancakes

Fruit splodge

Get your frozen fruit (we’ve tried with frozen blueberries and with frozen black forest fruits from the Waitrose Essentials range) and put into a blender. Blend.

fruit splodge

Once the mixture looks like this, add half a banana. I have no idea why but it gives it a bit of an extra thickness. I add a tiny bit of milk too, and the mixture feels a bit like ice cream but without the sugar and cream. It should be too thick to pour but too thin to scoop, and you’ve got it just right.

Spoon on top of the banana and egg pancakes. Find you’ve made way too much but it’s okay as it’s all pure fruit anyway.

banana and egg pancakes and fruit splodge

If you’re doing Weight Watchers the only things which would count are the eggs and milk for this which would come in at 2.5 points. They’re gluten-free and really filling too!

I think the preparation time is around five minutes, cook time the same.

Bear Paws Healthy Snacks – Review

We’re huge fans of the Fruit Yo-Yo’s you can buy in most stores, from Bear Nibbles – we were offered the chance to review their new snacks Bear Paws so jumped at it!

Bear Paws come from Bear Nibbles, and like the other snacks in the range are really yummy.

Bear Paws from Bear Nibbles

Bear Paws are healthy and interesting too – bear paw shaped fruit moulds, which count as one of your five a day, as well as having no added sugar, no preservatives and they’re never from concentrate.

There’s an educational element to them as well, in each pack there’s five different kinds of paws which match to what’s on the back of the pack – H is at the stage where she’ll remember the names of the creatures and identify them by being able to work out the first letter and which animal it should be – it makes a fun guessing game (and she shared a pack with her friend at swimming today too, so it kept them both occupied!).

If you like Yo Yo’s, you’ll know what you’re getting – there’s just the three varieties (and plenty of characters!) – Dino Paws (strawberry and apple), Jungle Paws (apple and blackcurrant) and Safari Paws (orange and strawberry).

Bear paws

There’s a little token on the back of each pack too which you can save up and send off to get a sticker – we’ve already bought more as they’re fun and not sticky – ideal for hot train journeys when your child wants a snack.

I’ve just spotted Bear are doing a cereal too – I’m definitely going to look out for that (available in Waitrose – I’m going there tomorrow to find some!) – healthy alphabet shapes sound perfect for H.

Bear Paws snacks are available at most good supermarkets – I’ve found them at larger Sainsburys branches as well as via Ocado.

We were sent a pack of each to try with some cool goodies, all opinions are our own, especially H who allowed us to share just one paw from each pack, she liked them so much!